
How to Make Acrylic LED Neon Lights
Injection-molded acrylic LED neon lights typically refer to a modern process that uses injection molding to create the acrylic (or plastic) lamp housing and embeds LED light strips inside, simulating the effect of traditional glass neon lights. It combines injection molding and LED lighting technology, making it more durable, energy-efficient, and easier to customize than traditional glass neon lights. Due to the solid-state LEDs, they have a long lifespan (typically over 50,000 hours), requiring only surface cleaning for daily maintenance.
Today, Sunled lighting discuss some specific processes with you. Please feel free to exchange ideas if there are any areas where we lack expertise. Thank you all.
I. Components of Injection Molded Acrylic LED Neon Lights
1. Letter Shell: Includes a front lampshade and a rear base plate with a light trough.
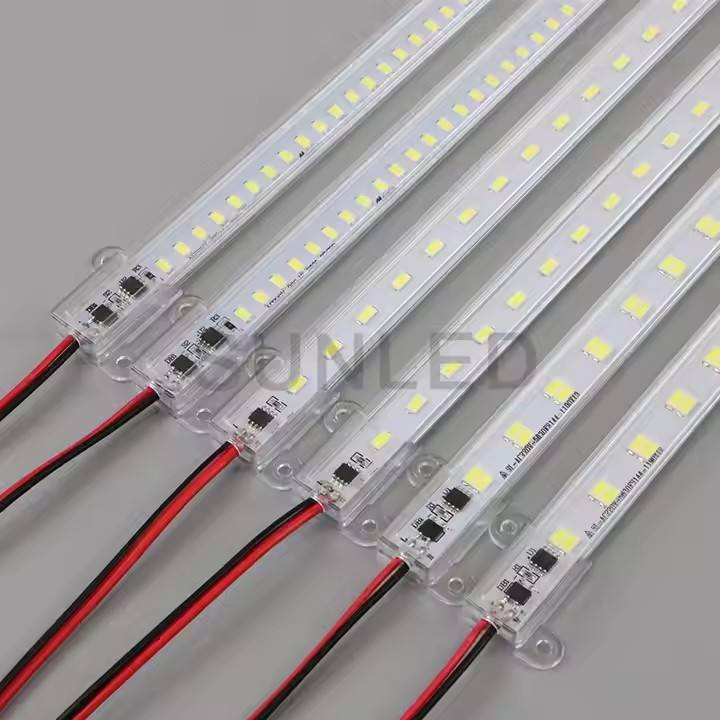
2. Light Source: LED light source; color temperature selected according to requirements. LED strips or custom aluminum substrates can be used; custom aluminum substrates save assembly time.
3. Wiring: Select wiring based on overall power to avoid excessive heat and reduced lifespan.
4. Others: Chains, hooks, brackets, etc. Requirements may vary slightly depending on the customer.
II. Design and Planning
Design Pattern: Create vector graphics using CDR (also known as engraving files). Line width should be uniform, typically between 8-15mm, to match injection molding requirements.
Structural Design: Consider the thickness of the lamp shell, fixing method, power cord exit location, and splicing method (larger patterns may require segmented production).
Circuit Planning: Plan the circuit layout based on the LED strip type to ensure even light distribution.
Installation Method: Hanging installation is common; pre-drilling holes or welding iron rings is required.
III. Mold Making
Mold Design: Design a steel mold based on the pattern. This is the most crucial and expensive step, requiring a professional mold engineer.
The mold typically consists of two or more pieces to form a hollow lamp housing.
The runner and gate must be designed to ensure the plastic fills the entire cavity evenly.
CNC Machining: Use a high-precision CNC machine to engrave the grooves of the pattern onto the mold steel.
Polishing and Finishing: The mold cavity requires high-level polishing to ensure a smooth and glossy surface on the injection-molded product.
Trial Molding and Modification: Conduct an initial injection molding test to check the uniformity of dimensions, appearance, and wall thickness, and modify the mold accordingly if any issues are found.
IV. Injection Molding
Material Selection: Transparent or colored acrylic (PMMA) or polycarbonate (PC) is typically used. These materials offer high transparency, good weather resistance, and UV resistance.
Injection Molding Process:
The plastic granules are dried and fed into the injection molding machine.
After heating and melting, the molten material is injected into the mold under high pressure.
After cooling, the mold is opened, and the molded acrylic lamp housing is removed.
Deburring (excess plastic at the gate and parting line) is removed.
Quality Inspection: The lamp housing is inspected for defects such as bubbles, shrinkage, missing material, and scratches.
V. Circuit Installation
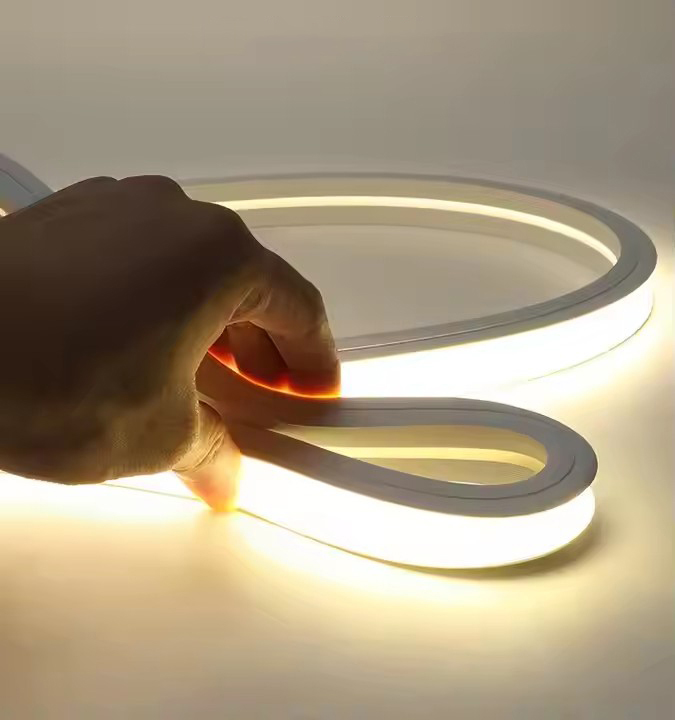
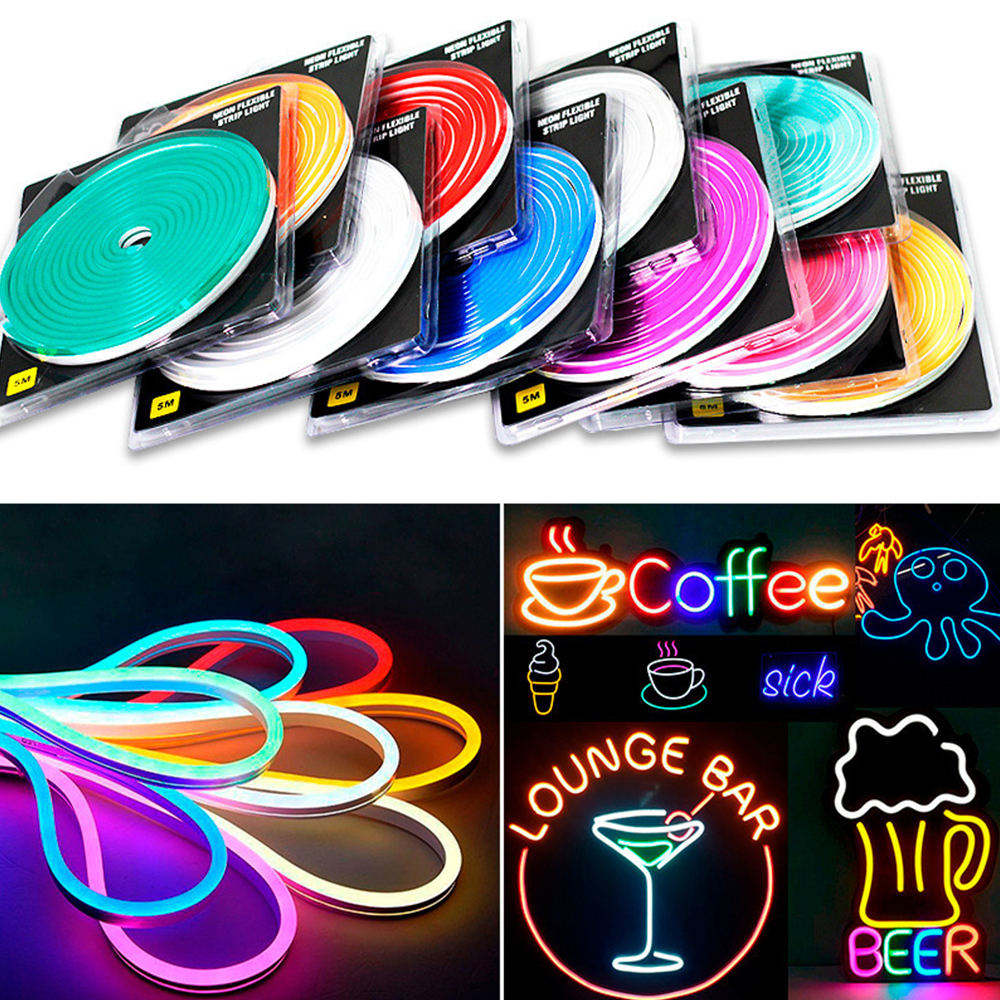
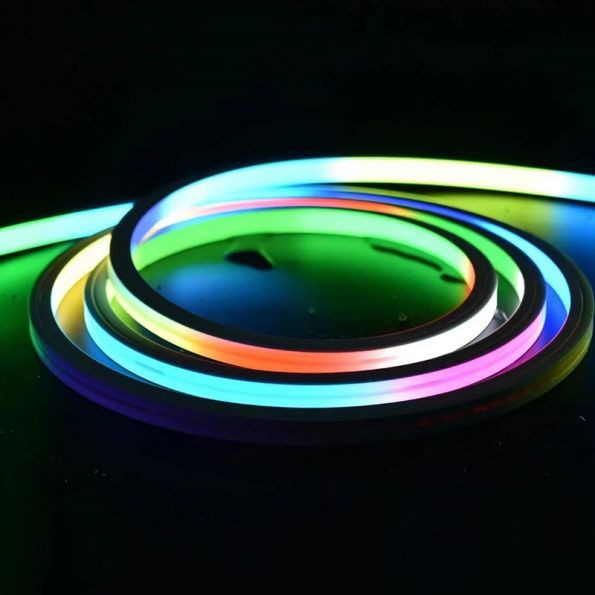
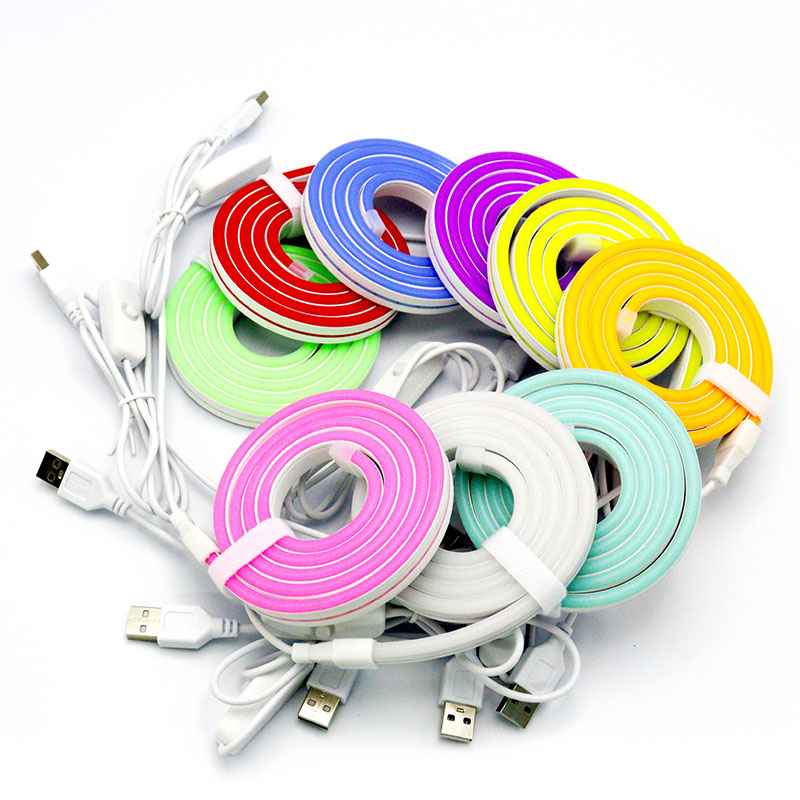
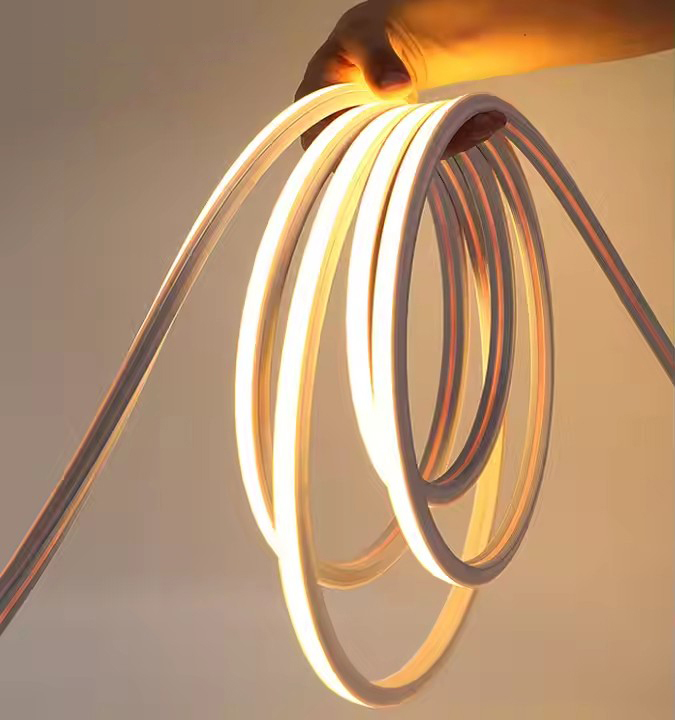
LED Selection: SMD LED strips are used. The most common type is the LED neon flexible strip, which provides soft, non-glaring light, ideal for simulating neon effects.
Strip color can be selected as single-color or RGB variable color, depending on requirements.
Waterproof rating is selected based on the installation environment (IP20, IP65, IP67, etc.).
Installing the LED strip: Precisely insert the LED strip into the slots on the back of the acrylic lamp housing (if designed with slots), or secure it using dedicated clips and glue.
Soldering and Connection: Solder the LED strip segments in series or parallel.